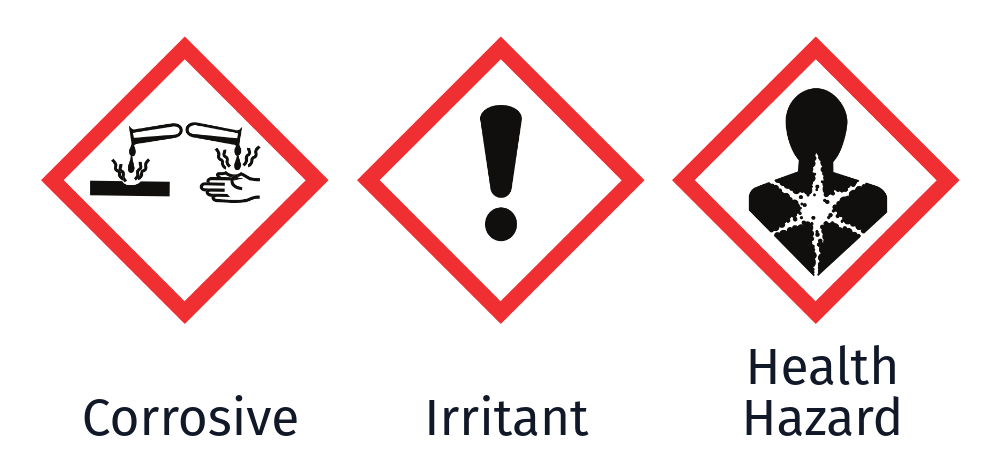
I’m not going to get into the discussion of whether 4-Acryloylmorpholine should be inside 3D printer resin, but … If you can smell a class 3 health hazard in any living area, it’s time to take action! It’s this earthy smell that feels a bit spicy in your nose and you keep smelling it for a few minutes after you leave the room. My first – and luckily only – encounter with ACMO was Anycubic’s Standard Resin +. That stuff has fantastic printing detail, cures pleasantly fast, and it’s cheap, but you should probably never use it outside a ventilated factory.
Anyway, this is how my basement windows look like:
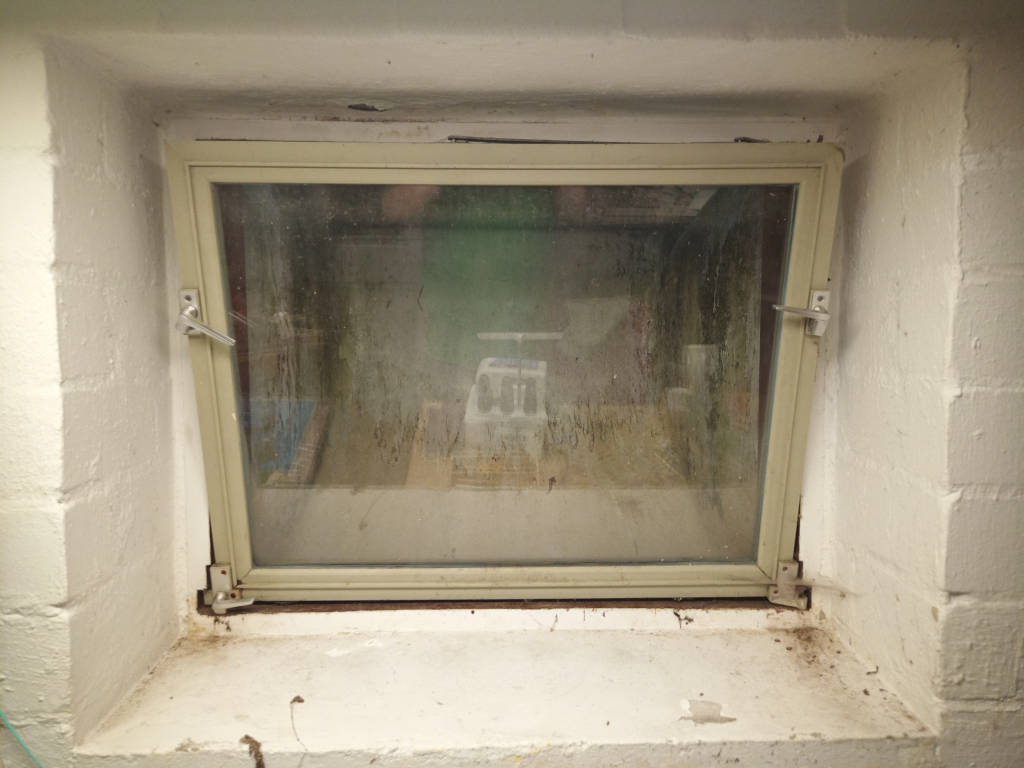
I can open them a bit at the top. The plan is to put an airtight plate in front of that open window and to use fans to push the dirty air out.
Ingredients:
- GDSTIME kit of a 3V-12V variable power supply and 4x 120mm voltage-controlled fans for 51€
- 2 wooden plates 100x50x2.8 cm for 8€ each
- 8x M4x60mm screws for about 5€
- sealing tape (Fugendichtungsband) for 8€
for a total of 80€ in expenses.
Steps
- Cut the wooden plates into the correct shape.
- Surround the border with sealing tape.
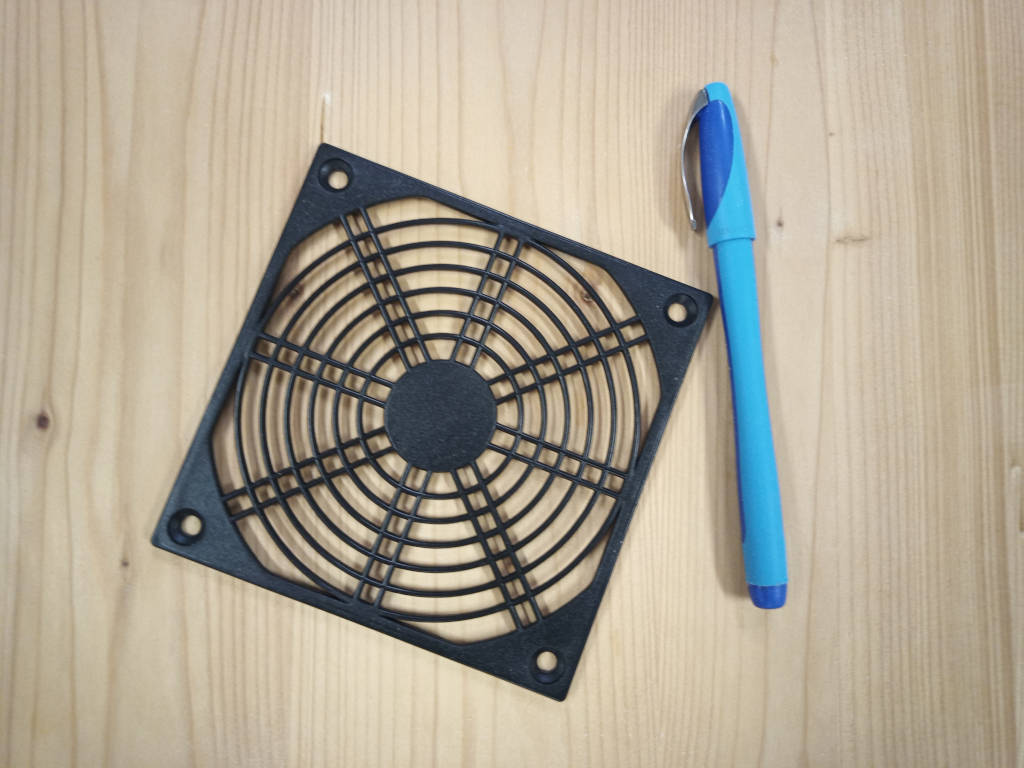
- Fully disassemble the fan kit.
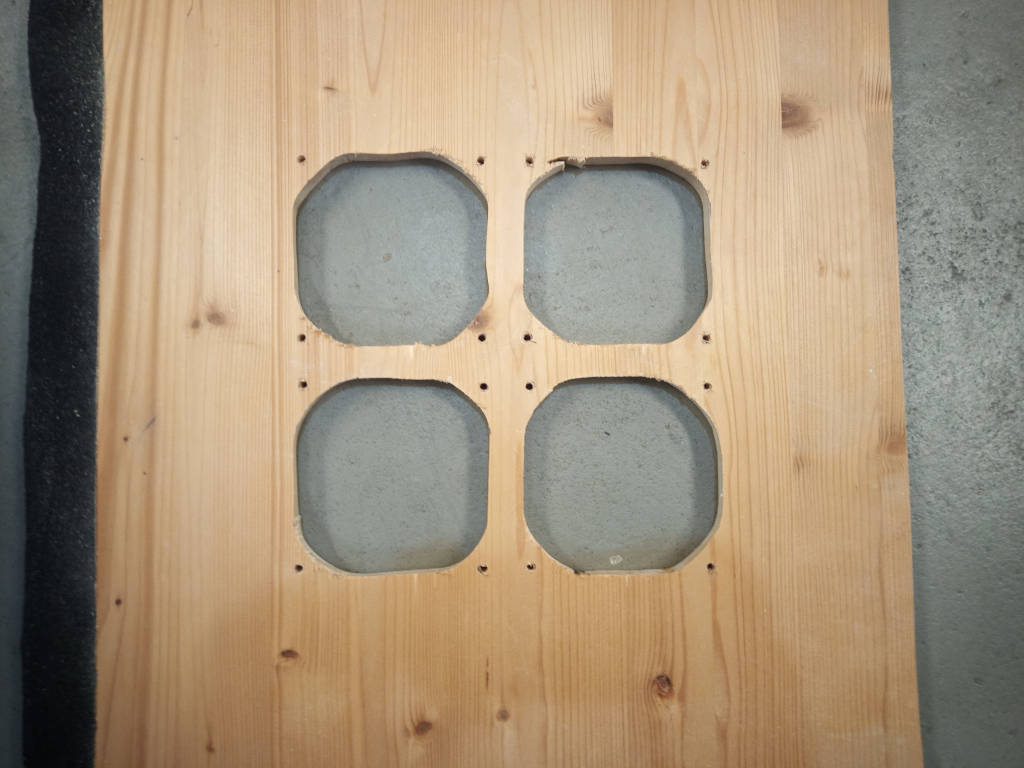
- You can then use the grills as a stencil to mark where you should cut the wood:
- Cut the wood, drill the holes:
- Use the long screws to reassemble the fan kit.
The side of the fan with the sticker and the cables
is where the air will come out.
Accordingly, that side should touch the wooden plate.
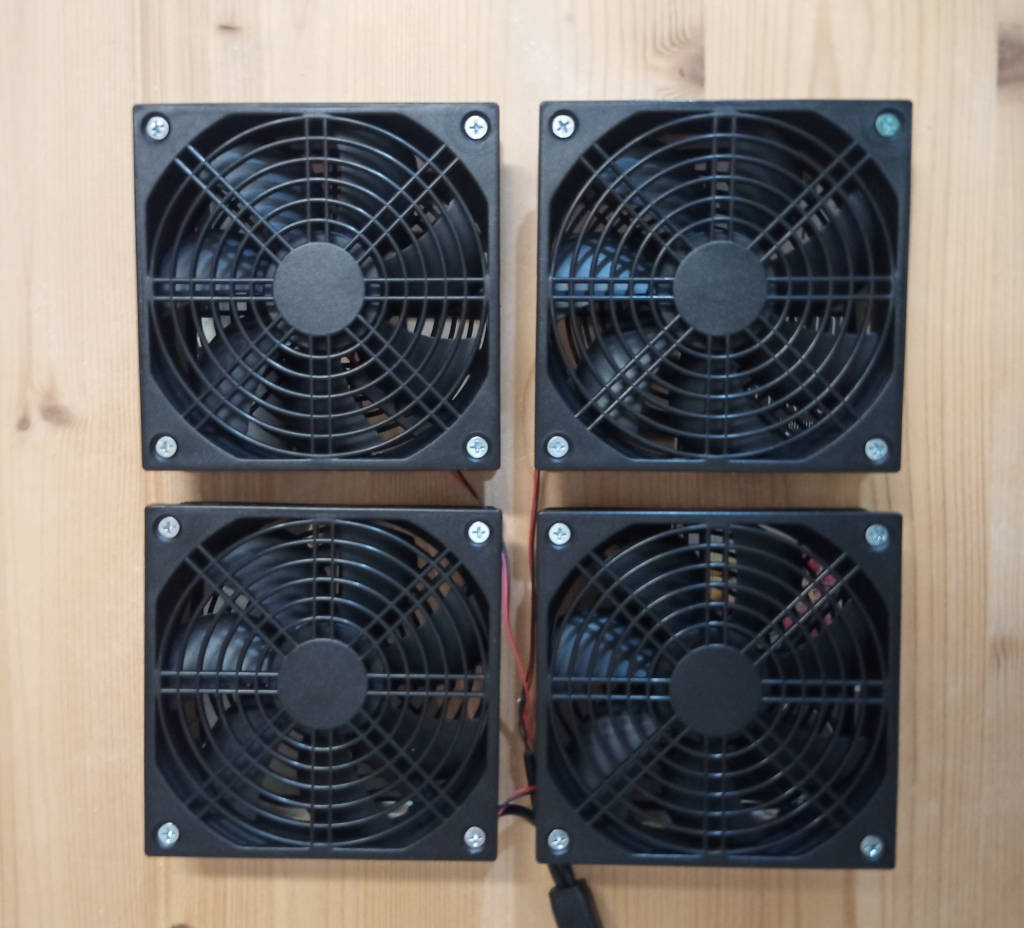
And here’s the final result:
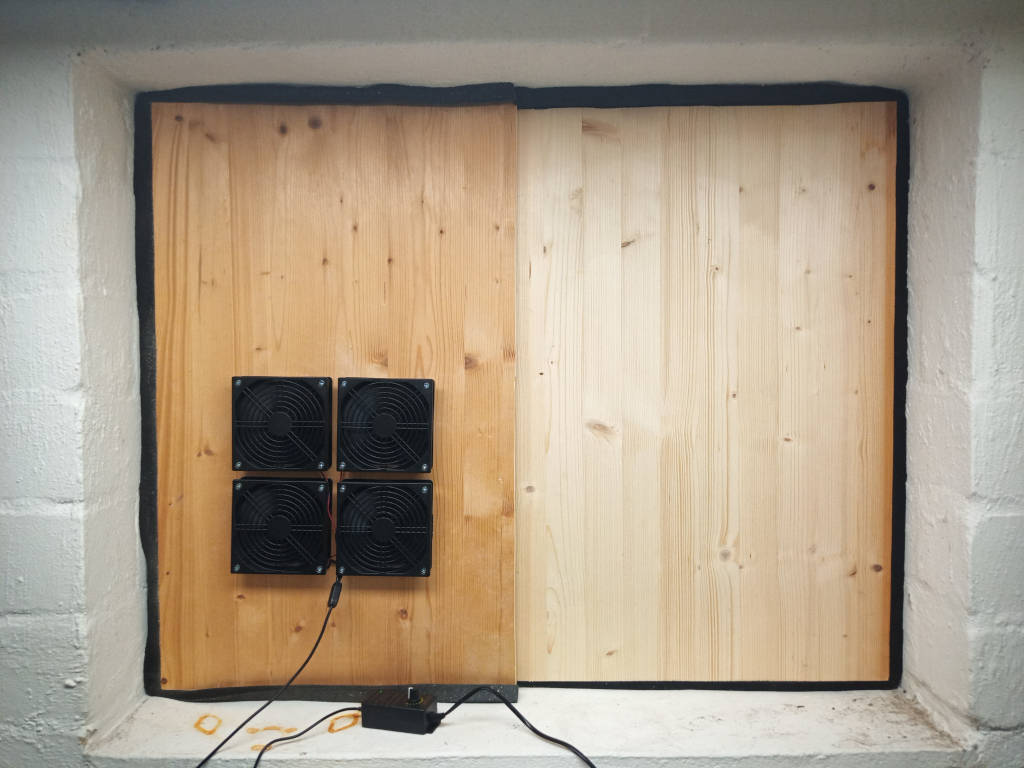
When I open/close the door of the room, I can hear that this affects the strain on the fans. That means the fans are sucking out enough air to create a pressure gradient throughout the entire room, thereby ensuring that the airflow will always be from the door towards this ventilation exhaust.
On a low power setting, the fans are barely audible. On full power, the fans are about as loud as an air-cooled PC case.
Happy 3D printing :) and stay safe.